Last updated November 22, 2026
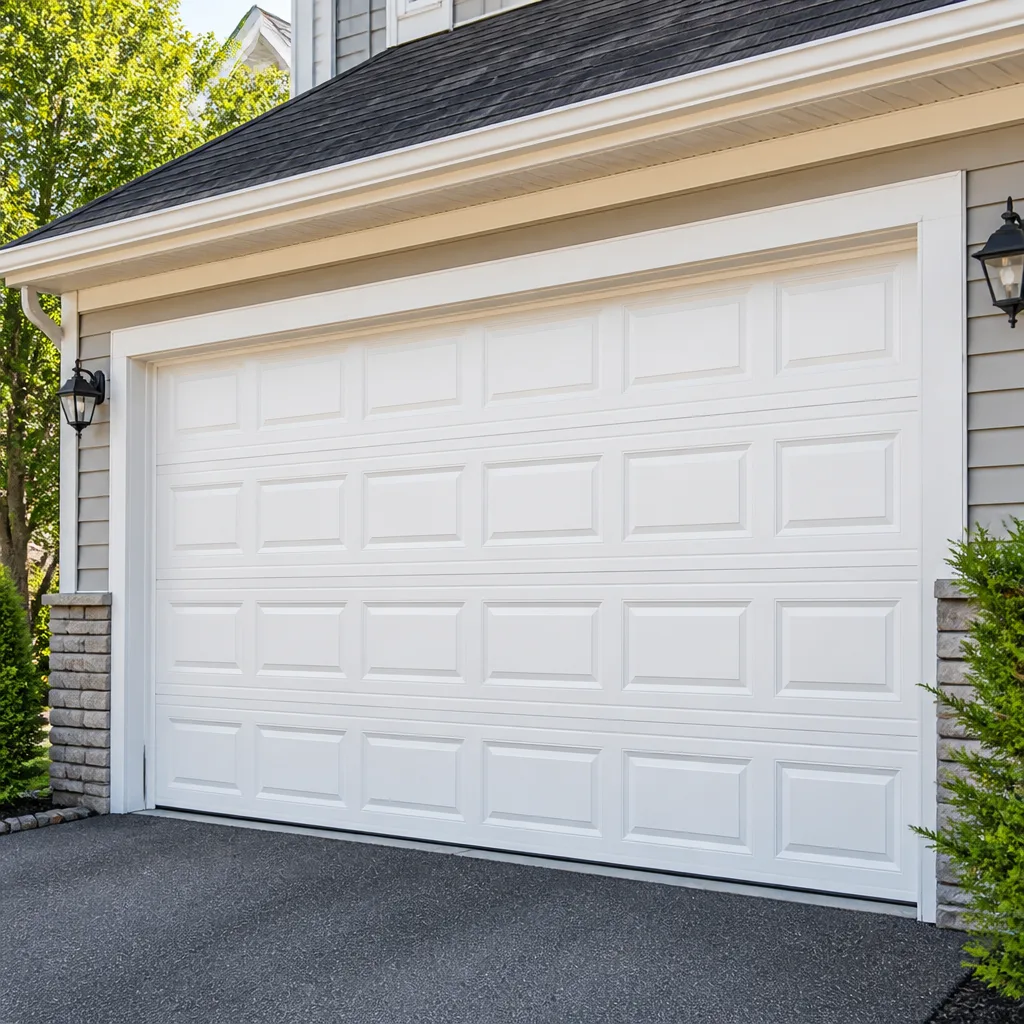 Raised-panel steel
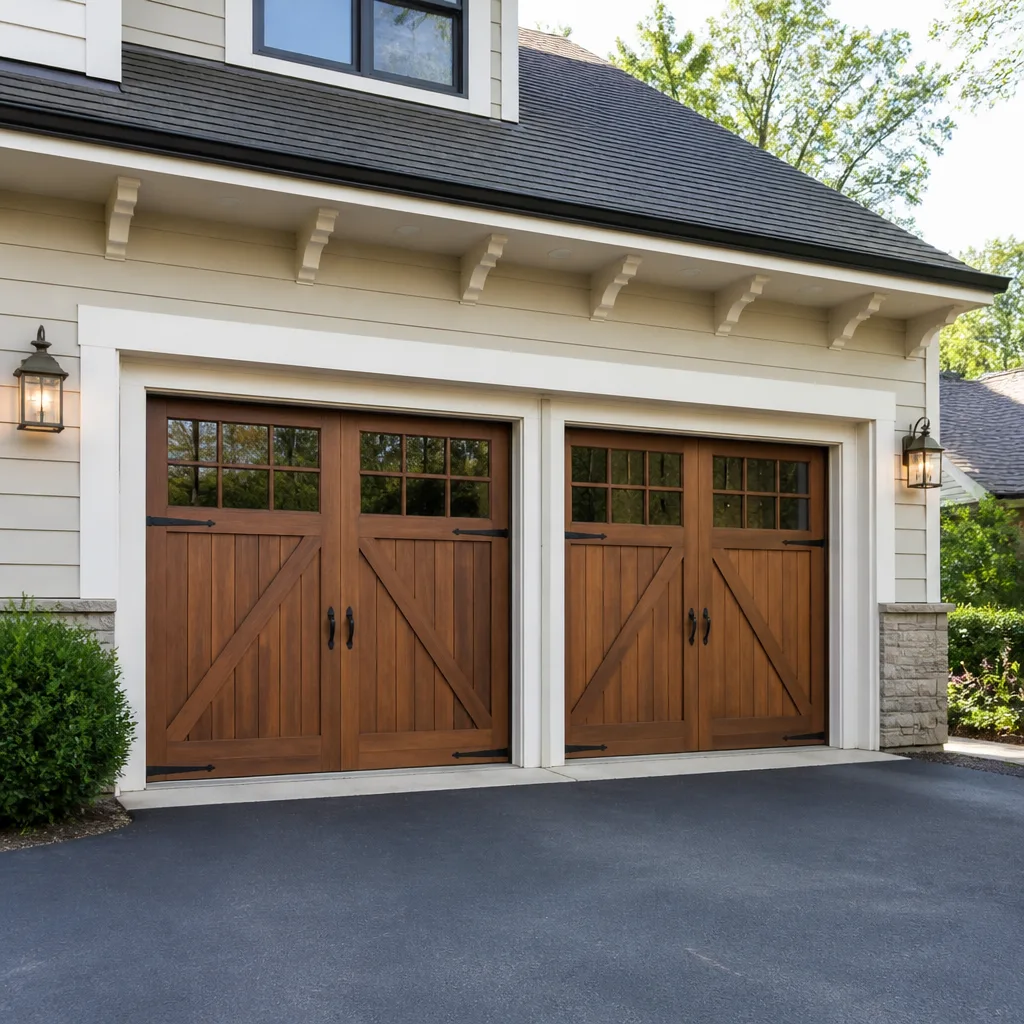 Carriage house
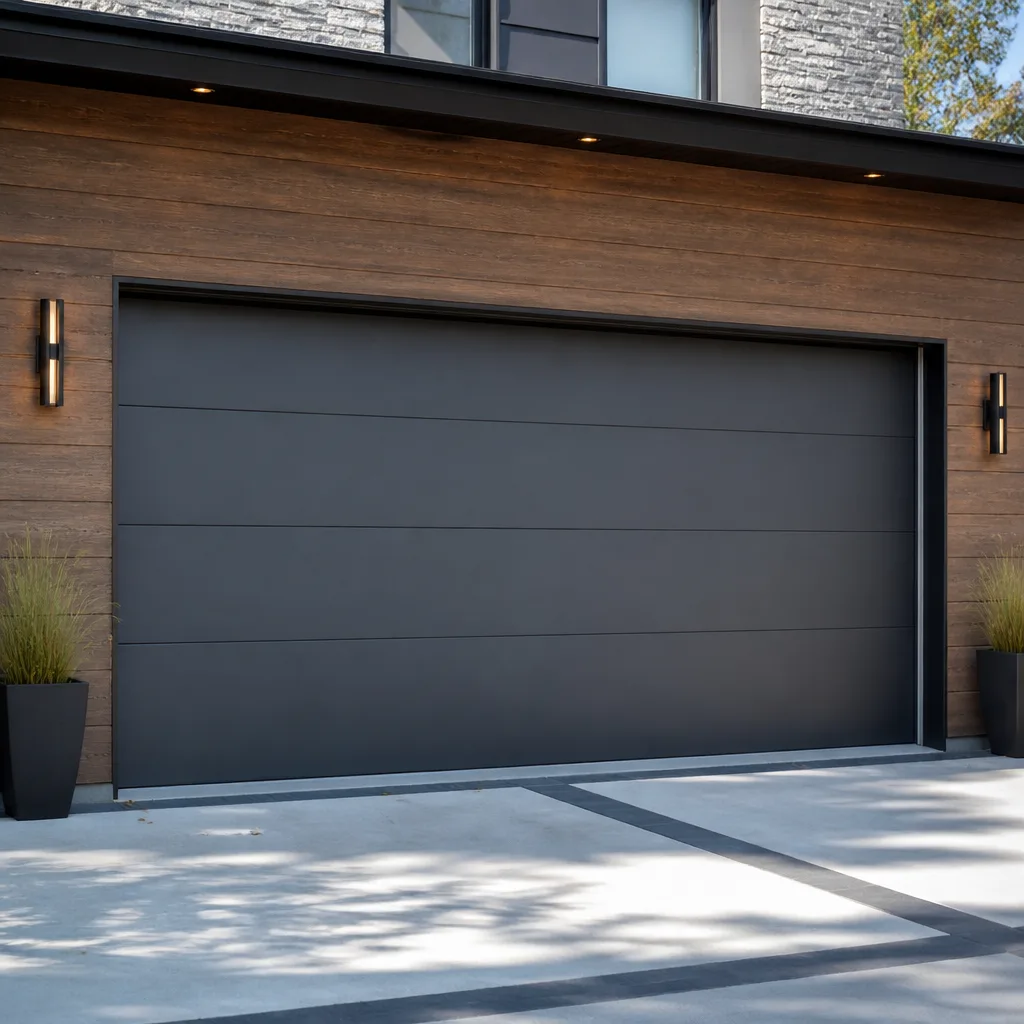 Modern flush
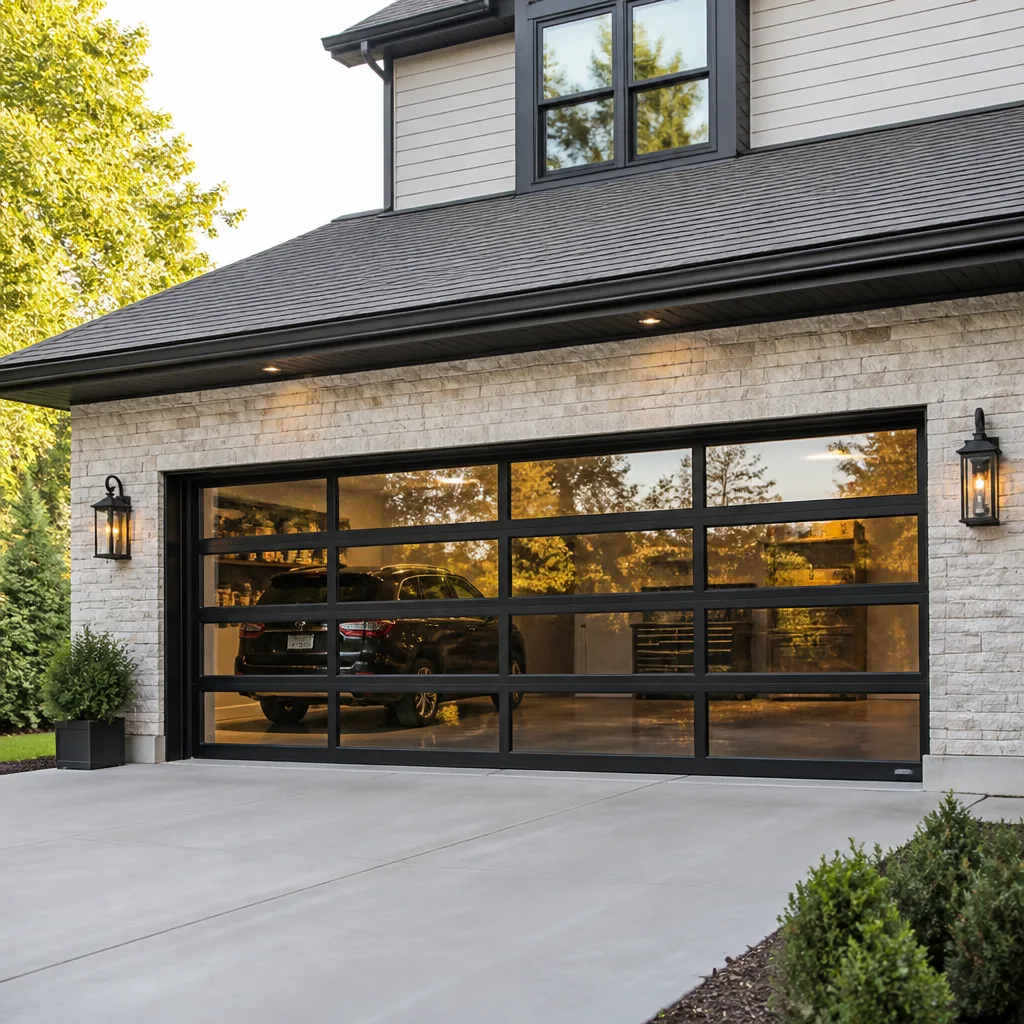 Full-view glass
 LiftMaster openers
 Chamberlain openers
Full 25-point door and opener safety check with every visit - springs, cables, rollers, tracks, and your LiftMaster or Chamberlain opener included
You get a price before we start. It does not change when the pro arrives.
Get your free estimateDIY vs Professional Garage Door: The Plantation Homeowner’s Decision Guide
Most homeowners in Plantation who consider fixing their own garage door aren’t overconfident. They’re practical. They’ve watched a few videos, they’re handy around the house, and a door that won’t close seems like something a Saturday afternoon could solve. But the garage door is the one household system that stores enough energy in a single spring to cause serious injury or worse when it lets go under tension. That’s not a lawyer’s warning label. It’s physics, and it’s the reason this decision matters more than the one about fixing a running toilet. This guide draws a precise line: the repair tasks you can safely handle yourself, the ones that carry real risk or code consequences in Florida, and the honest math on when doing it yourself actually saves money versus when it costs more after a professional has to fix the fix.
Quick Answer
In Plantation, weatherstripping, sensor alignment, lubrication, and remote reprogramming are safe DIY tasks. Anything involving torsion springs, cables, drums, panel replacement, opener installation, or a new door installation is not: those carry injury risk, can void manufacturer warranty coverage when done by non-certified hands, and door installation affects the Broward County wind-load product approval. Spring replacement typically runs $150 – $200 done professionally, which is why most homeowners find the risk-reward math tilts toward a specialist for anything tension-related.
Styles & brands we work with
- Raised-panel steel
- Carriage house
- Modern flush
- Full-view glass
- LiftMaster openers
- Chamberlain openers
Table of Contents
- How the Decision Actually Breaks Down
- What a Plantation Homeowner Can Safely DIY
- What Requires a Trained Technician, and Why
- Florida Code and Your Door Installation
- The Warranty Kill Switch
- The Three Opener Tasks That Look Simple and Aren’t
- Honest Math: When DIY Saves and When It Costs
- How a Typical Professional Service Call Goes
How the Decision Actually Breaks Down
The DIY-versus-professional question is usually framed as a skill test. Do you have the tools, the time, and the confidence? That framing is incomplete for garage doors in Plantation. A better framework sorts tasks into three buckets: tasks where the risk is essentially zero if you’re careful, tasks where the risk is real but manageable with knowledge, and tasks where the risk or the regulatory consequence is high enough that professional hands are the only sensible answer.
Bucket one is short. Weatherstripping, sensor alignment, lubrication, and remote programming all fall here. You’re on a step stool at most, there’s no stored energy to manage, and a mistake means the door still works but maybe not perfectly. Bucket two is a gray zone: opener adjustments, track alignment, and roller swaps. The energy involved is modest, but the tools and brand knowledge matter, and this is where YouTube ambitions most often turn into a second call. Bucket three is where the line becomes bright: torsion springs, extension springs, cables, drums, and full door replacement. Springs and cables store force that can release suddenly, and installation involves the wind-load considerations that govern how a door is anchored and reinforced in Florida.
We work on what you already have, whether it’s a Wayne Dalton panel set or a LiftMaster chain drive the previous owner installed. That gives us a useful vantage point for this piece: we can tell you plainly which jobs we’d tell a friend to attempt and which we wouldn’t, because we’ve seen what happens on both sides of that line. The rest of this guide works through each bucket in detail, starting with the physics, since that’s where the decision actually lives.
Why the spring keeps coming up
Torsion springs sit above the door on a shaft and twist as the door closes, storing energy that gets released as the door opens. A failed spring doesn’t politely stop working. It cracks, snaps, and releases that stored force in a sudden mechanical event, which is why spring repair is a specialty inside the trade rather than a general handyman service. You’ll notice a broken torsion spring by the loud snap that people describe as sounding like a gunshot from inside the garage, and the door afterward will lift only a few inches before stopping. That’s the spring’s counterbalance gone, and continuing to cycle the opener on a broken spring stresses the opener and the door’s hinges. The energy stored in that coil is why the rest of this conversation leans the way it does.
For more on how spring failures present themselves and why repair happens fast, see our guide to garage door spring repair. The point for this decision guide is narrower: springs don’t belong in a DIY list, no matter how many videos exist.
What a Plantation Homeowner Can Safely DIY
There are legitimate garage door maintenance tasks a careful homeowner can do without a technician, and doing them occasionally is what keeps the door quiet and reduces wear on the opener. The key is knowing where the list stops. Here’s the safe list, with what each task involves.
Weatherstripping replacement
The bottom weather seal and the side and top stops take the most abuse from sun, heat, and pest pressure in Plantation, and they’re the easiest garage door parts to replace yourself. Bottom seals slide into a channel in the bottom section and pull out by hand or with light prying. Failing seals let water and insects in, which is why this one earns the exception to the “leave it to a technician” message every year or two.
Safety sensor alignment
The two sensors near the door’s base send an infrared beam to each other. If the beam is blocked or the sensors are knocked out of alignment, the door reverses in the middle of closing. You can clean the lenses, check that the sensor housings are pointed at each other, and confirm the indicator lights are lit on both. That’s alignment, and it’s safe.
Lubrication
Springs, hinges, rollers, and the track benefit from periodic lubrication with a proper garage door lubricant, not oil or grease. A light coat reduces the squeal and wear on the rollers and hinges. Lubrication is low risk because you’re not adjusting the door’s balance or its opener’s travel limits.
Remote and keypad reprogramming
On a LiftMaster or Chamberlain unit, the learn button on the motor head and a few presses on the remote walk you through pairing. Keypad changes, travel limit adjustments are a different matter, but reprogramming a remote is safe.
Light cleaning and visual inspection
Wiping the door’s exterior and looking over the door for cracked hinges, loose fasteners, and wear on the rollers catches small problems early. A visual inspection is where you notice a spring that’s stretched or a cable that’s frayed, and noticing it is your cue to call rather than attempt the swap.
If a task isn’t on this list, it doesn’t mean it’s impossible. It means the risk or the consequences are high enough that it moves to the next section. For everything in the gray zone and above, our garage door repair service covers what you’d otherwise be attempting with a ladder and a guess.
What Requires a Trained Technician, and Why
These are the tasks where the risk of injury or the cost of a botched attempt genuinely justifies a specialist. The reason for each task differs, so the list below explains the why alongside the what.
Spring replacement
Torsion and extension springs store energy proportional to the door’s weight and the spring’s wind. To replace a torsion spring, a technician winds the new spring to a specific number of turns, using winding bars and a systematic sequence that keeps hands and arms clear of the tension path. A homeowner without the right tools and a reliable winding procedure risks serious injury. Spring replacement done professionally typically runs $150 – $200 for a single spring, and a matched pair is usually replaced together because they wear at the same rate and are typically installed with matching turns. Pricing is per spring, so a pair costs roughly twice a single. Given that range, the honest answer to “should I try it myself?” is no, and the cost difference doesn’t come close to covering the risk.
Cable replacement
The lifting cables are under high tension and if they let go or are released improperly, the force can be violent. Cables running off a drum are also a sign that the door’s balance is off, which is a diagnosis task rather than a parts swap. A trained technician can tell you whether the door needs cables, drums, or a new spring, and can replace the whole set safely.
Track alignment and panel replacement
A bent track or a damaged panel throws the door out of alignment with the opener and the floor, and replacement involves fitting a manufactured section to the existing door. Clopay and Amarr panel sections aren’t interchangeable across models, so the panel has to match. Improper fitting can cause binding and strain on the opener. Panel work is best left to a technician who can get the replacement section and confirm the door still travels cleanly.
Full door installation and replacement
This is the largest job and the one with the most consequences, which the next section covers in detail. Door installation is measured, sized, ordered, and scheduled, and it’s the kind of work where “close enough” isn’t good enough.
Opener installation and wiring
Opener installation involves mounting a motor to the ceiling structure, and on many units, connecting to household wiring. Electrical connections should go to someone trained for them, and the opener’s drive system has to match the door’s weight and type. We handle garage door opener repair across brands, including units that were installed by a homeowner and never worked quite right.
Emergency situations
A door stuck open overnight, a broken spring at 7 a.m., a car trapped inside: these are the situations where a DIY attempt invites both injury and the risk of making the problem worse. Emergency garage door service exists for them, and we offer it as a core part of our work.
Florida Code and Your Door Installation
Here’s the part most DIY guides skip entirely, and it’s the single most Plantation-specific reason installation is not a homeowner project. Garage door installations in Florida are subject to the state’s wind-load requirements, and the door products themselves carry an approval demonstrating they meet the applicable standards. That approval doesn’t just cover the door; it covers the installation, and the installation has consequences for the structure around the door.
What that means for you: when you install a door yourself, or have unlicensed or general labor install it, the installed assembly is not what the product approval contemplates. Broward County operates its own building code office and enforces wind-load requirements as part of the permitting process, so a door replacement in Plantation typically involves a permit and an inspection. The door’s product approval and the installation method are both part of what the inspector checks. If the approval isn’t matched to the installation, or if the door’s anchoring and reinforcement aren’t what the approval specifies, you can end up with a failed inspection and an adjustment or replacement job that will cost more than the original installation would have.
That’s why the responsible path for door installation in Plantation is a permit, a properly approved door product, and an installer who understands how the approval, the anchoring, and the inspection work together. This is not a place to guess. Questions about permits for a specific address should go to the City of Plantation’s building department, which has the authority for your property and can tell you exactly what a replacement in your neighborhood requires. We can tell you in general terms how the process works and what to ask. For planning an installation, see our garage door installation page, which walks through measuring, product selection, and the installation sequence.
The Warranty Kill Switch
A new garage door or opener is an investment, and the manufacturer’s warranty is part of that investment. Most manufacturers condition coverage of the door and the installation on the work being done by trained or certified installers, or on the components being installed and adjusted in accordance with the manufacturer’s instructions. Do the installation or the spring adjustment yourself, and the manufacturer can decline a warranty claim on the affected parts, even if the failure looks unrelated.
This plays out in a few common ways:
- Opener warranty claims. Opener makers can decline claims when the installation or adjustment doesn’t match the installation manual’s requirements, particularly for travel limits and force settings. A unit whose travel limits are set incorrectly can run the motor into its stop and wear the gears.
- Door hardware claims. Makers like Wayne Dalton or Raynor can decline claims on springs, hinges, and cables when the door was installed outside the manufacturer’s specification or with parts the maker didn’t supply.
- Component-specific coverage. Some doors and openers carry separate warranty periods for different parts, so a claim can fail on the specific component even when the rest of the system is fine.
The takeaway is simple: when you have a door or opener that’s still under warranty, the manufacturer’s conditions are part of the decision, not a footnote. A certified installer who knows the brand’s instructions is what keeps the warranty intact. That’s why our approach is brand-agnostic and instruction-faithful: whether it’s a LiftMaster opener or a Craftsman unit, the goal is a repair that respects the manufacturer’s spec rather than one that just gets the door moving again. If a claim is at issue, the manufacturer’s warranty document for your specific model is the authority, not us, and we’ll point you there.
The Three Opener Tasks That Look Simple and Aren’t
Openers are where the DIY instinct runs strongest. The motor is small, the controls look accessible, and the video makes setting the travel limits look like a two-minute job. In our experience, these three tasks consistently cause more damage than they save, usually $300+ in parts and labor once the problem is corrected.
- Setting travel limits and force limits without the manual. The opener’s travel limits tell it where to stop in the open and closed positions, and the force settings tell it how hard to push. Turn these the wrong way and the opener will slam the door into the floor, reverse too aggressively, or fail to reverse at all. On a LiftMaster or Chamberlain unit with a learn button and force adjustments, the settings interact, and a wrong combination can wear the unit’s gears or damage the door. The fix takes a technician’s diagnostic, not a second guess. Every brand’s settings differ, and getting them wrong on a smart opener can also knock the unit out of app pairing.
- Replacing a drive belt, chain, or gear set on the wrong diagnosis. A noisy or slow opener can be a worn belt, a failing gear, a binding door, or a limit setting problem, and replacing parts before you know which is the culprit can cost more than the diagnosis would have. A LiftMaster gear kit or a Craftsman drive belt isn’t interchangeable across models, so an online purchase based on a guess often lands on the wrong part.
- Opening the motor head to fix a “dead” opener. The logic board and capacitor live inside, and the capacitors can hold energy after the unit is unplugged. A unit that won’t power up could be a failed capacitor, a worn gear, or a safety sensor issue, and the diagnosis determines which. Replacing the board or a capacitor without the correct spec for your model wastes the part, and manufacturers like Raynor and Genie vary in how their boards are set up.
None of this is meant to make opener repair sound mystical. It’s meant to be honest about where the failure modes are. The three tasks above are the ones we get called to correct most often, and the correction is almost always more expensive than the original job would have been. If your opener is making noise, refusing to respond, or failing to reverse, the diagnostic is the place to start.
Honest Math: When DIY Saves and When It Costs
It would be easy to say professional work always saves you money, and it would be wrong. The honest version of the cost comparison depends on the task and what can go wrong. Here’s how the math tends to break down:
- Where DIY genuinely saves. Weatherstripping, lubrication, sensor cleaning and alignment, and remote reprogramming cost little in materials and carry low failure risk. A $20 bottom seal and an afternoon of careful work is a real saving, and there’s no reason to pay a specialist for it.
- Where it’s a wash today and a loss tomorrow. Simple panel replacements, roller swaps, and single-hinge fixes can be done by a careful homeowner if the correct part is found, but the wrong part and the second call make a wash into a loss. A door that still binds after the swap will wear the opener.
- Where DIY costs more. Springs, cables, drums, and opener internals. The parts rarely cost much on their own, but the diagnostic, the correct part, and the risk make the total higher than a professional job. This is where the “cost the professional fix-it call” almost always exceeds the price of doing it right the first time.
Where the numbers are hardest to argue with is the spring: at $150 – $200 for professional replacement of a single spring, a pair runs roughly twice that because the springs are matched and replaced together. A homeowner looking at that number can reasonably ask whether the risk justifies it. It does, and the reason is that a spring failure isn’t a slow leak; it’s a sudden release of stored force, and the professional price includes the winding procedure, the matched pair, and the balance check after the door is back in service. That’s the right way to compare costs: not the parts alone against the labor, but the parts, the risk, and the rework against each other.
One more honest note: a written estimate is the way to keep any of this from turning into a surprise. The final price is set by a written estimate agreed before any work starts, so neither route, DIY or professional, should involve an invoice that’s larger than the quote. For more on costs, see our guide to garage door repair costs in the area.
How a Typical Professional Service Call Goes
Knowing what a professional visit involves helps you decide when to call. A typical call for repair or spring service tends to run through the same sequence, though the specific steps depend on the diagnosis. What follows is the general shape of it, not a promise about your particular door.
- You describe the symptom. Whether the door won’t close, the opener hums without moving, or a spring snapped, the first step is confirming what the door is doing now and whether it’s stuck open or closed. That determines how urgently a repair slot is needed.
- The technician diagnoses the cause. Springs, cables, rollers, hinges, and the opener are examined as one system, because a door that seems to have an opener problem may have a balance problem instead. That’s where brand familiarity helps: a LiftMaster opener and a Wayne Dalton door have different failure patterns, and the technician’s read of the system matters.
- You get a written estimate before any work starts. The diagnosis and the recommended repair are put in writing, and the price is agreed before anything is moved. The written estimate is the price, so there’s no surprise at the end.
- The repair is completed. Springs are replaced as a matched pair when the diagnosis calls for both, opener adjustments are set to the manufacturer’s spec, and the door is cycled and balanced before the technician leaves.
- Follow-up if needed. If the repair involves an installation or a special-order part, it gets measured and scheduled. Those are not same-visit jobs, which is why installation appointments are handled differently from repairs.
This is where the specialty matters. On a board with LiftMaster and Chamberlain units, plus Clopay and Amarr doors, the technician isn’t guessing at the parts and settings. We work across all of the major brands, which means the visit is a diagnosis and repair for what you have, rather than a push toward a replacement you didn’t need. Our technicians have up to 9 years of experience, so the visit is built around knowing the system rather than discovering it on your time.
Common Mistakes to Avoid
- Winding a torsion spring without winding bars. People substitute screwdrivers and pry bars, and the spring’s stored energy can release when the substitute slips. The right tools and the right winding sequence exist for a reason, and the spring is the one component this guide keeps returning to because it’s the one that hurts people.
- Assuming “it runs, so it’s fine.” An opener that runs but doesn’t reverse is a safety problem. Test the reversal with an object in the door’s path, and if it doesn’t reverse, get it looked at rather than letting it run.
- Setting travel limits by ear. If the door slams into the floor or reverses halfway up, the limit or the force setting is wrong, and adjusting it higher or lower without the manual usually makes it worse.
- Installing a door without a permit in South Florida. Plantation sits in Broward County, and the wind-load approval attached to the door is a real part of the installation. Skipping the permit and the inspection can leave you with a door that fails inspection and a fix that costs more than the installation would have.
- Buying a part based on a video instead of the model number. A Wayne Dalton door and a Raynor door use different hardware, and even within a brand, parts vary by model. The model plate or the opener’s label is the authority, not the video.
- Ignoring a frayed cable or a bent track. A frayed cable is a signal that the door’s balance is off and the cable is close to failure. Wiring a fix around it or running the door anyway wears the door’s hardware and puts the cable at risk of sudden failure.
- Treating a warranty-covered door as a DIY project. The warranty claim can be denied on the affected parts when installation or adjustment falls outside the manufacturer’s specification. Before you touch a covered door or opener, check the warranty document.
See the difference
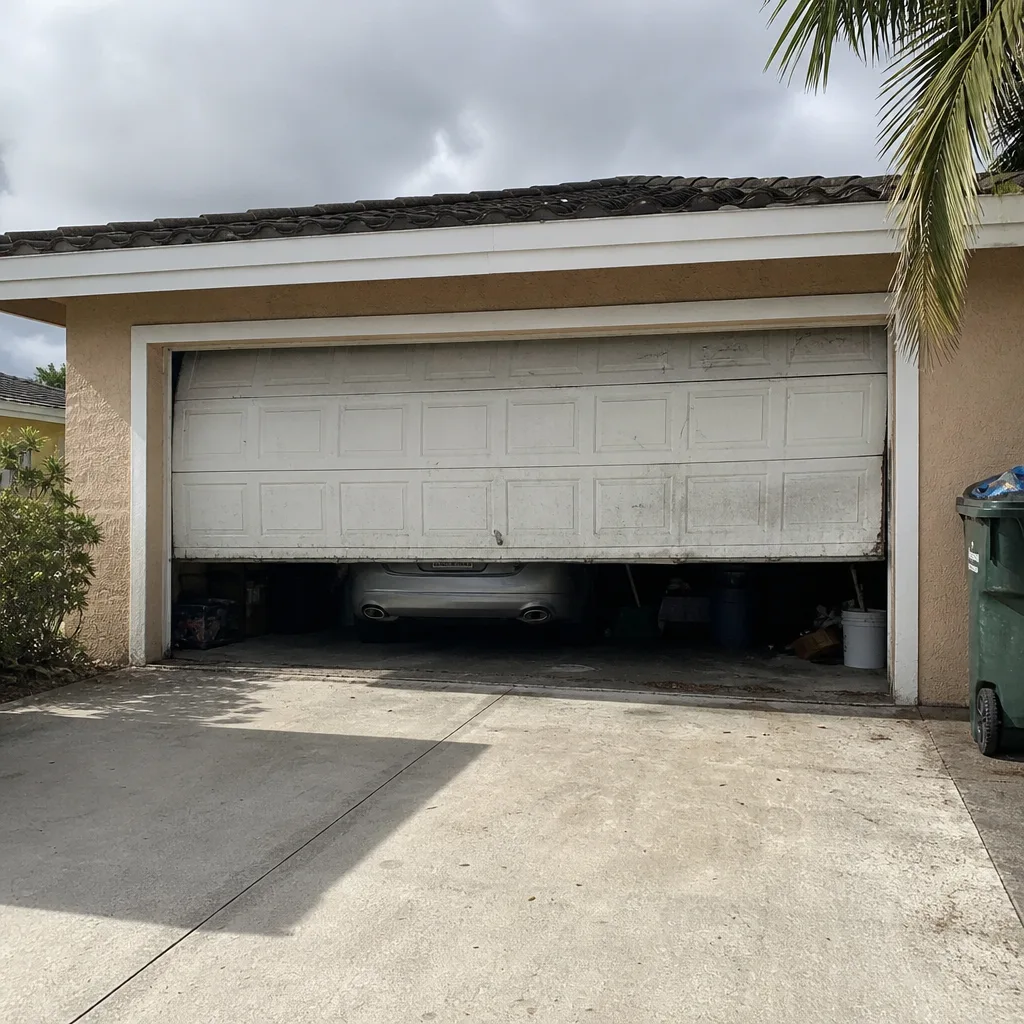 Before
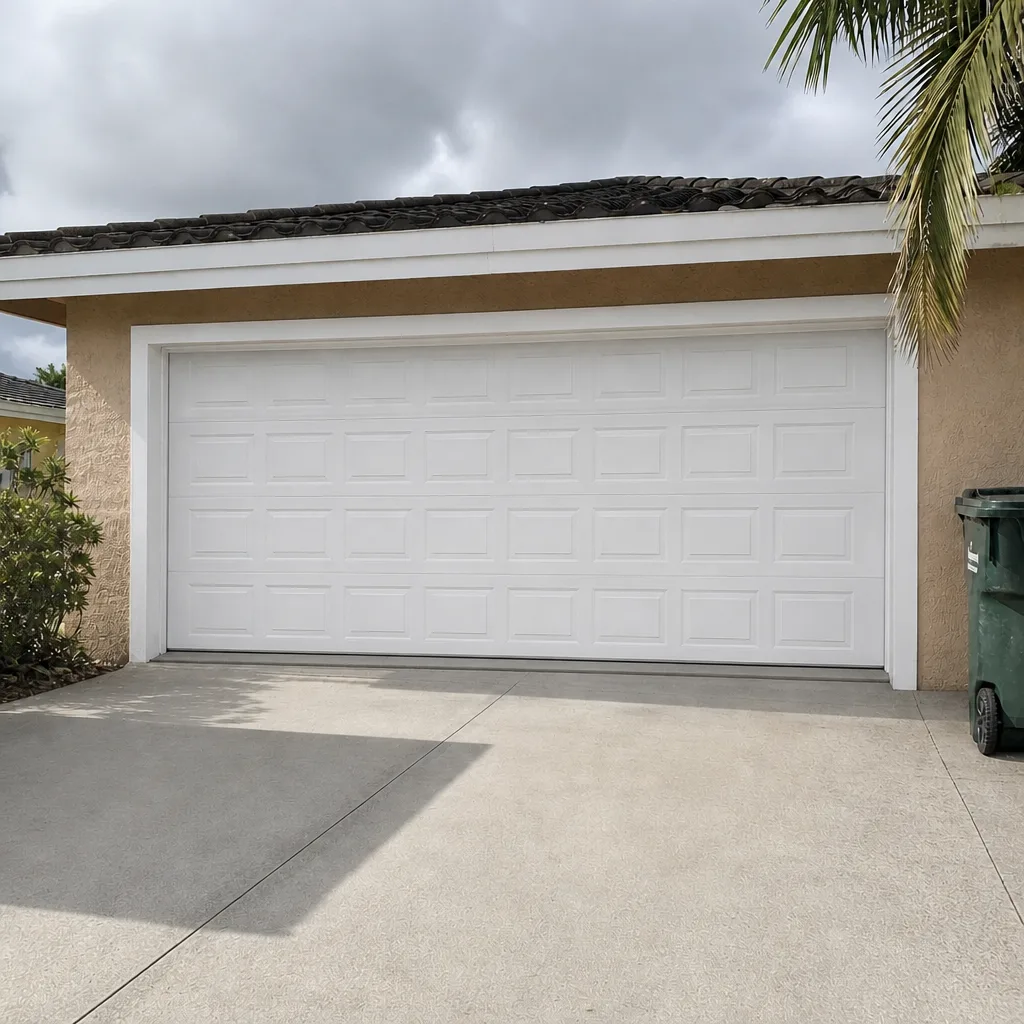 After
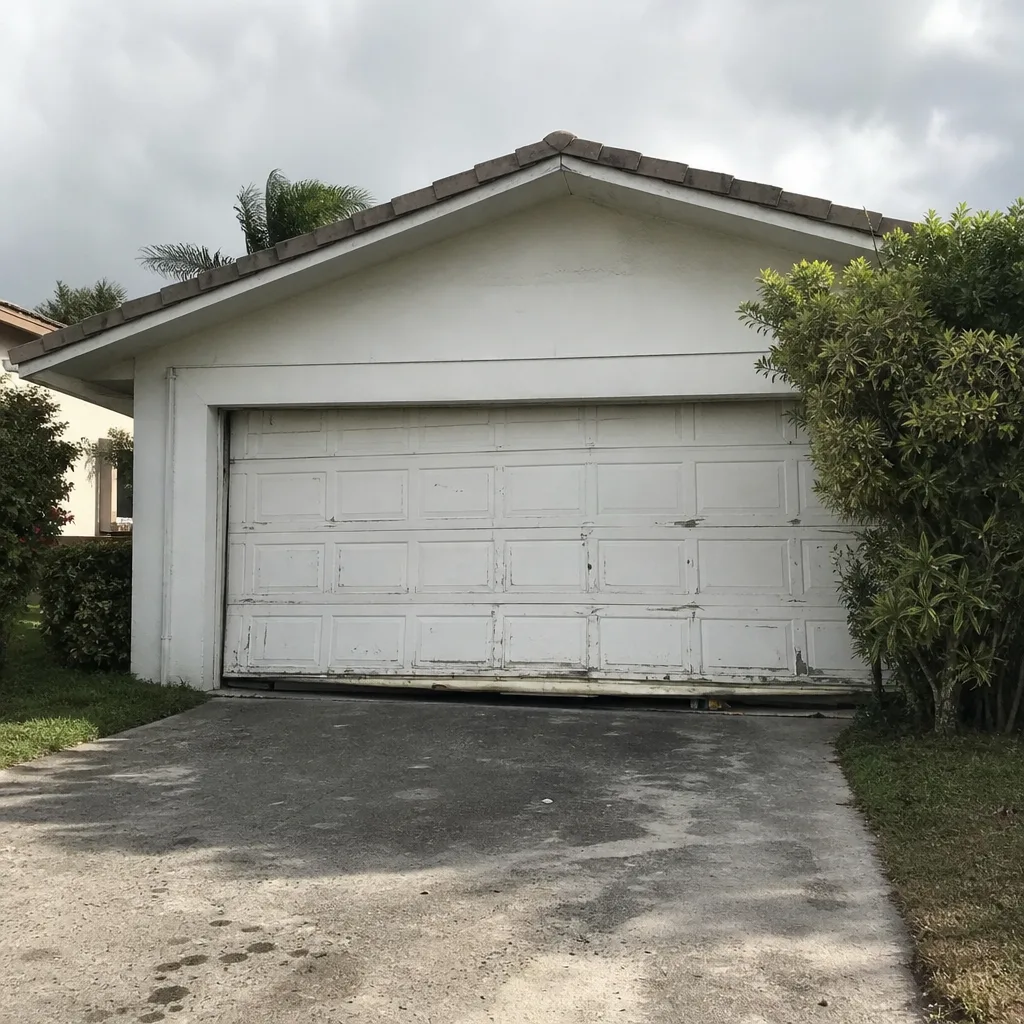 Before
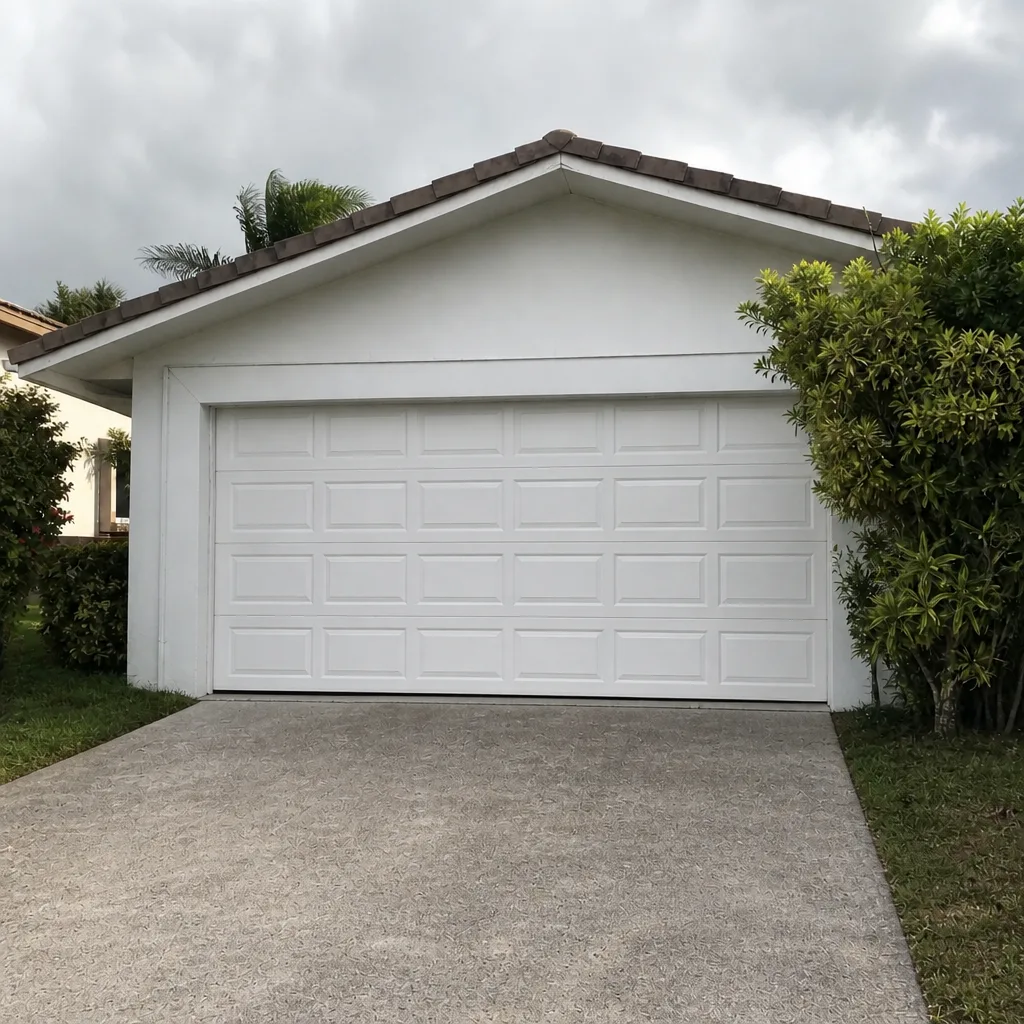 After
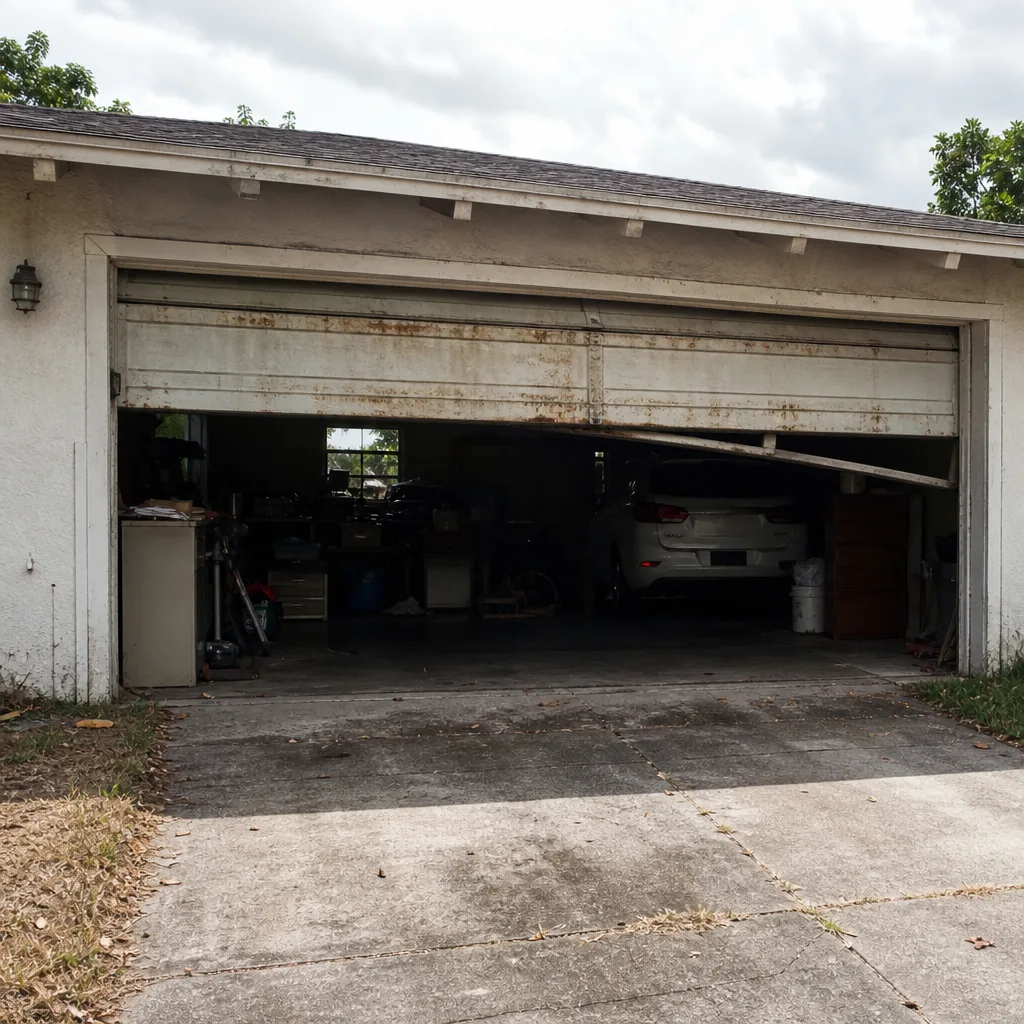 Before
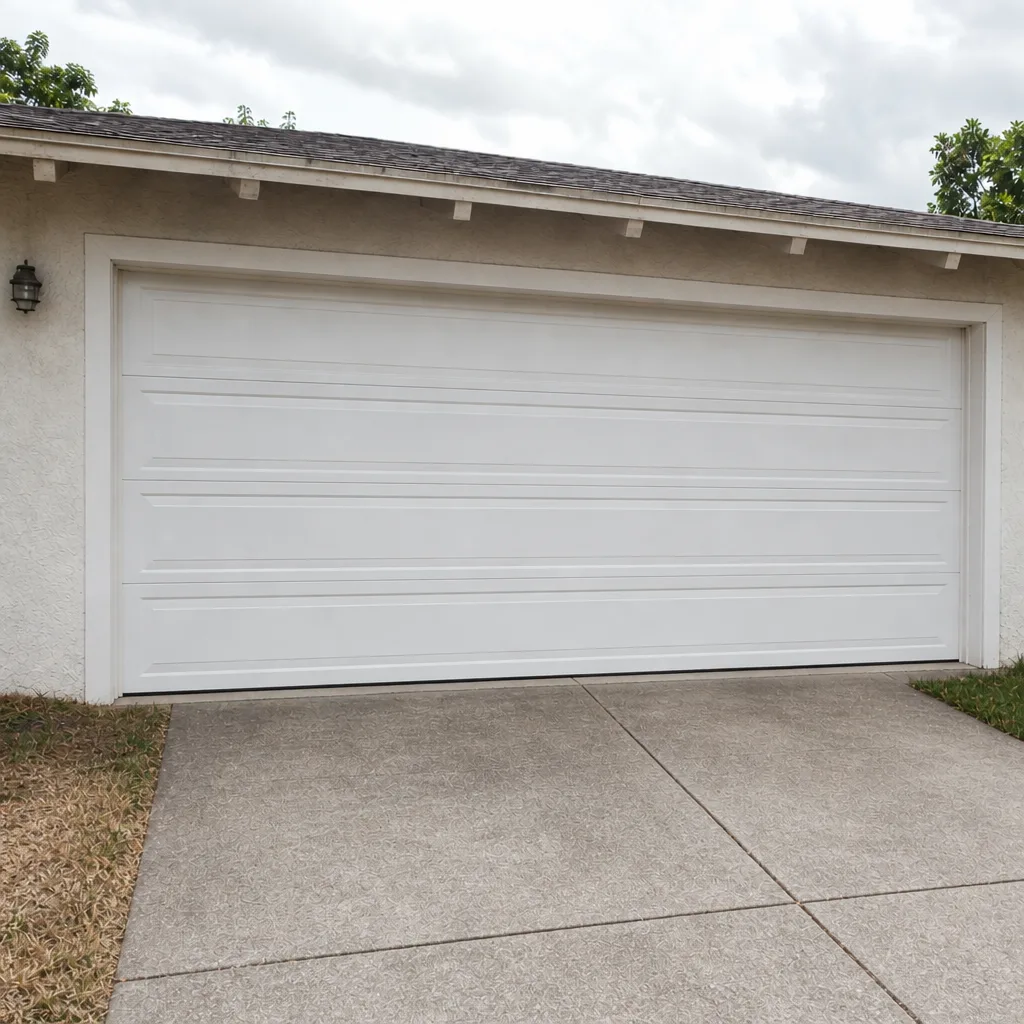 After
When to Call a Professional
Call for anything involving a spring, a cable, a full door, or a panel you can’t verify the part number for. Call when the door is stuck, when the opener won’t reverse, when a new installation is needed and you’re in a permitting jurisdiction, and when a door or opener under warranty would be affected by the work. Call when the door has become a safety issue rather than an inconvenience: a door that comes off its track, a door that reverses without warning, or a door that won’t stay up when you lift it by hand. Those are the moments where a quick diagnosis is worth more than a project. Plantation Garage Door Repair Pros offers free estimates in Plantation, and our technicians are familiar with the major brands, so the visit starts with a diagnosis rather than a sales pitch. Call (866) 937-8852 to book an estimate.
Frequently Asked Questions
No, and it’s the most dangerous task on the door. Torsion and extension springs store enough energy that an improper release can cause serious injury, and the winding procedure requires specific tools and a systematic sequence. Spring replacement done professionally typically costs $150 – $200 for a single spring, which is generally far less than the cost of the risk. Call (866) 937-8852 for a free estimate and let a trained technician handle it.
Attaching a door in Plantation typically requires a permit, and the door’s product approval and installation method are part of what the local building department reviews under Florida’s wind-load requirements. Broward County enforces its own code, and a door installed without the permit or the proper installation can fail inspection. The safest path is to ask your city’s building department before planning an installation. For the installation process itself, call (866) 937-8852 for a free estimate.
It can. Manufacturers often condition warranty coverage on the work being done by trained or certified installers, and on the door or opener being installed and adjusted to the manufacturer’s instructions. A claim can be declined on the affected parts when that condition isn’t met, even if the failure looks unrelated. Check the warranty document for your model. If you’d rather keep the coverage intact, call (866) 937-8852 for an estimate.
Weatherstripping replacement, safety sensor cleaning and alignment, lubrication, remote and keypad reprogramming, and light cleaning are all safe for a careful homeowner. Those tasks carry little risk and a mistake is unlikely to be serious. Anything involving springs, cables, track alignment, panels, or the opener’s internals is best left to a technician. Call (866) 937-8852 if you’re unsure which side of the line a task falls on.
Spring replacement in Plantation typically runs $150 – $200 for a single spring. A matched pair is generally replaced together and costs roughly twice a single, since the springs wear at the same rate and are installed with matching turns. The written estimate sets the final price before any work starts. Call (866) 937-8852 for an exact quote, and ask about emergency service if the door is stuck.
Repair calls can often be handled same day, and emergency service is available for stuck doors, broken springs, and other urgent failures. Installation and replacement work is different because it’s measured, ordered, and scheduled ahead of time rather than done as a same-day repair. For a repair, call (866) 937-8852 for a free estimate. For an installation, we’ll schedule a measure and give you a written price.
The Bottom Line
The DIY versus professional question for a Plantation garage door comes down to the task, not the homeowner’s confidence. Weatherstripping, lubrication, sensor alignment, and remote reprogramming are safe to do yourself, and there’s no reason to pay for them. Springs, cables, drums, opener internals, panel replacement, and full doors are not, because of injury risk, code and permitting requirements under Florida’s wind-load rules, and warranty conditions that can void coverage on work done outside the manufacturer’s specification. The spring is the clearest case: at $150 – $200 for a professional replacement, the risk-reward math doesn’t come close to favoring a DIY attempt. Our full-service garage door specialist team works across LiftMaster, Chamberlain, Genie, Clopay, Amarr, Wayne Dalton, Craftsman, and Raynor equipment, so the diagnosis fits what you already have, and the written estimate agreed before any work starts is the price. Whether it’s a stuck door today or a replacement next month, call Plantation Garage Door Repair Pros at (866) 937-8852 for a free estimate.
Written by the team at Plantation Garage Door Repair Pros.